Product guide
How to monetize with AdPluga
Got traffic? Turn it into revenue. Sign up, integrate the SDK or tag, and start serving ads in minutes.
1. Create account as publisher
During registration, choose the "Monetize only" profile. Onboarding skips campaign creation and goes straight to property verification + integration snippet. You get pk_test_ keys to test without affecting billing.
2. Verify property
Add your site or app in Inventory → Properties. Verify via DNS TXT or meta tag. Only verified properties are eligible to receive ads and generate revenue.
3. Create ad slots
In Inventory → Slots, create the spaces where ads will appear. Define size (e.g. 300×250, 728×90), position and type (banner, native, interstitial). Each slot gets a unique ID for integration.
4. Integrate SDK or tag
Choose your integration method: tag.js (HTML, <5KB), Flutter SDK, Android or iOS SDK, or direct API. Paste the snippet in your app/site with your pk_live_ key and slot ID. See the SDKs page for platform-specific examples.
5. Test in test mode
Use the pk_test_ key to validate that ads load, impressions are recorded and events appear in the Integration Console (Inventory → Integration). No real billing happens in test mode.
6. Activate live mode
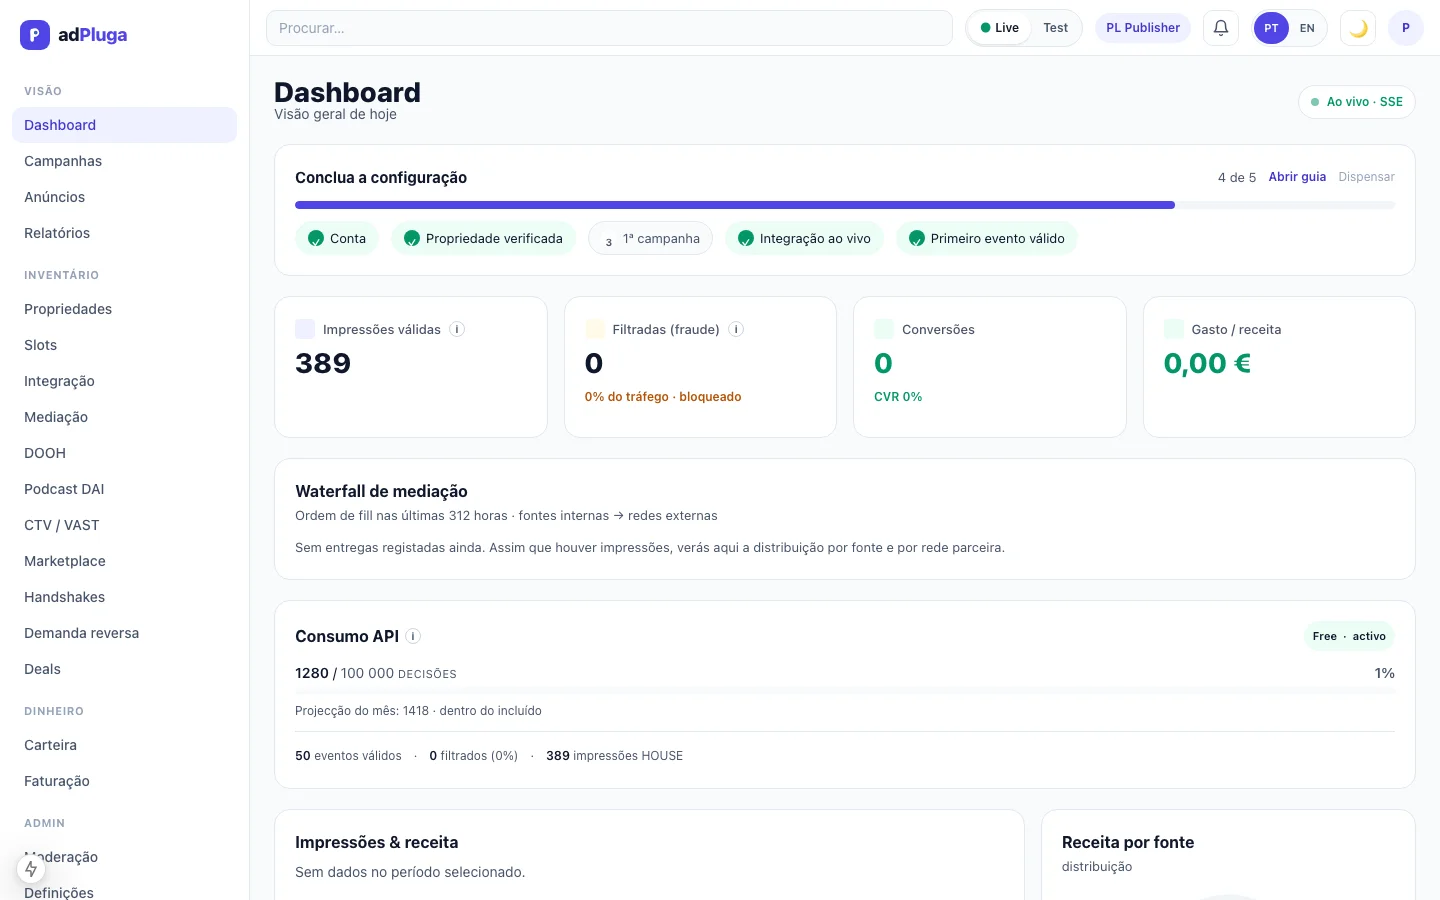
Switch to pk_live_ when satisfied. Ads start generating real revenue. Monitor in real time on the Dashboard and Reports.
7. Explore the marketplace
Visit the Marketplace to discover ads from advertisers. Request access (handshake) to serve the ones you want in your slots. When the advertiser approves, a DIRECT deal is automatically created (88/12 revshare) and you start earning with each impression.
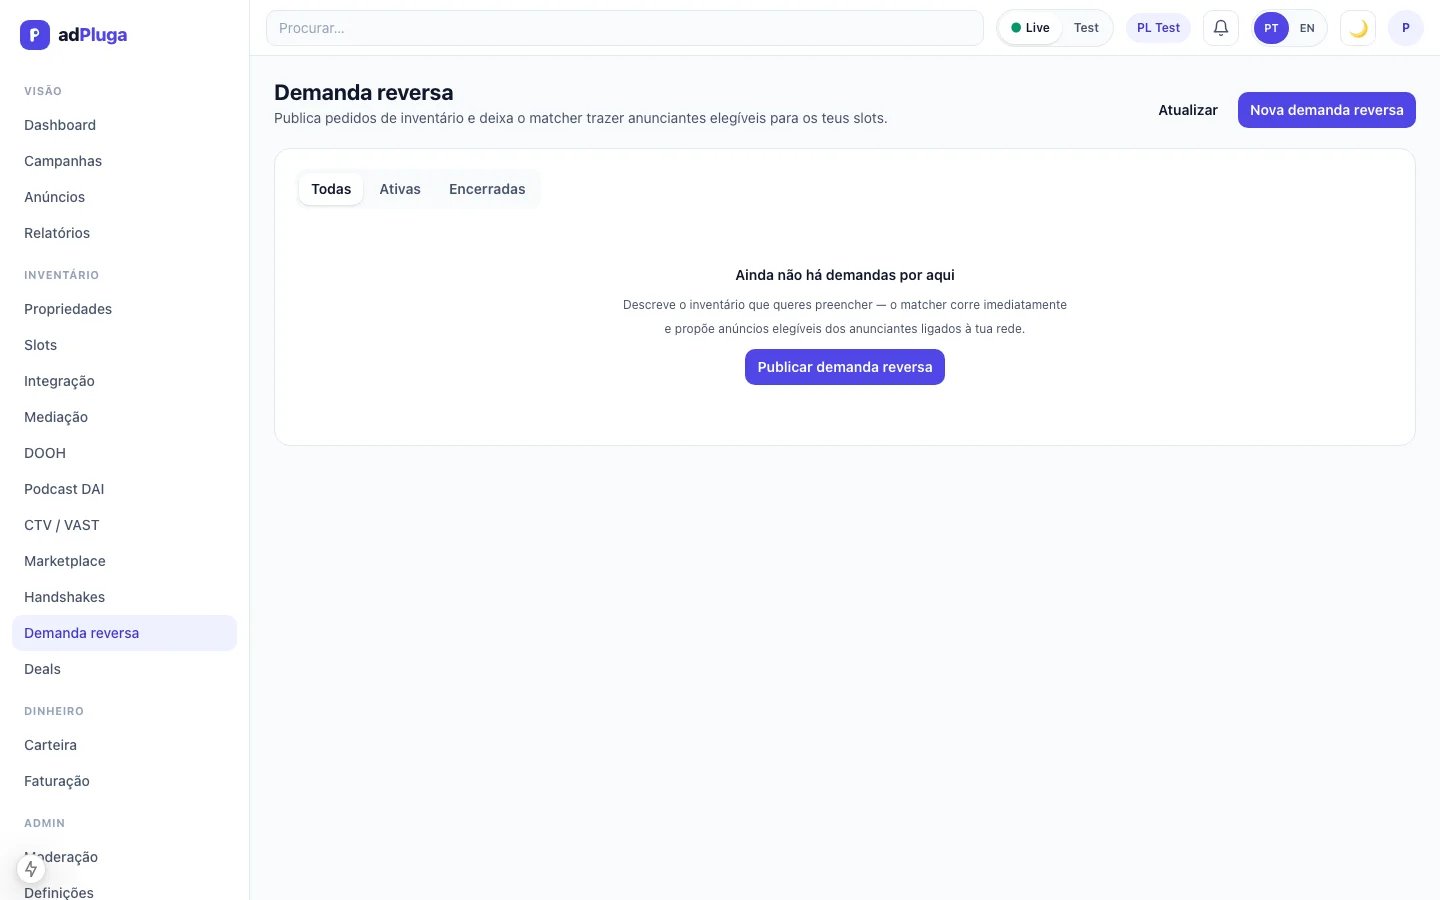
8. Reverse demand
In Reverse Demand, publish the type of campaign you're looking for. The system matches compatible advertisers and notifies them. They can initiate a handshake with you directly.
9. Track revenue
Your balance accumulates in the Wallet. Payout requests become available when the minimum balance is reached. Check Billing for detailed history.
10. Channels beyond web
Beyond web and mobile, you can monetize physical screens (DOOH), connected TV (CTV/VAST), podcasts (audio DAI) and newsletters (email). Each channel has its own integration method and tracking, but shares the same dashboard, billing and reporting.
11. Mediation with other networks
If you already work with AdMob, Meta Audience Network or other networks, mediation lets you compete those networks against AdPluga in a unified waterfall. The system calls each network by priority order and selects the response with the best eCPM — maximizing your fill rate and revenue per impression.
Configure mediation →12. Team management
In your organization, you can invite members with different roles. The administrator has full access; the integrator manages properties, slots and SDKs; the analyst views reports and metrics without being able to modify anything. Each member sees only what their role allows. Manage members in Settings → Users.
13. Restrict to specific services
Each property (site, app, channel) is independent. You can create separate properties for each service or vertical in your group — each with its own slots, SDK keys and metrics. A DIRECT deal is linked to specific slots of a property, ensuring each ad only appears where authorized.
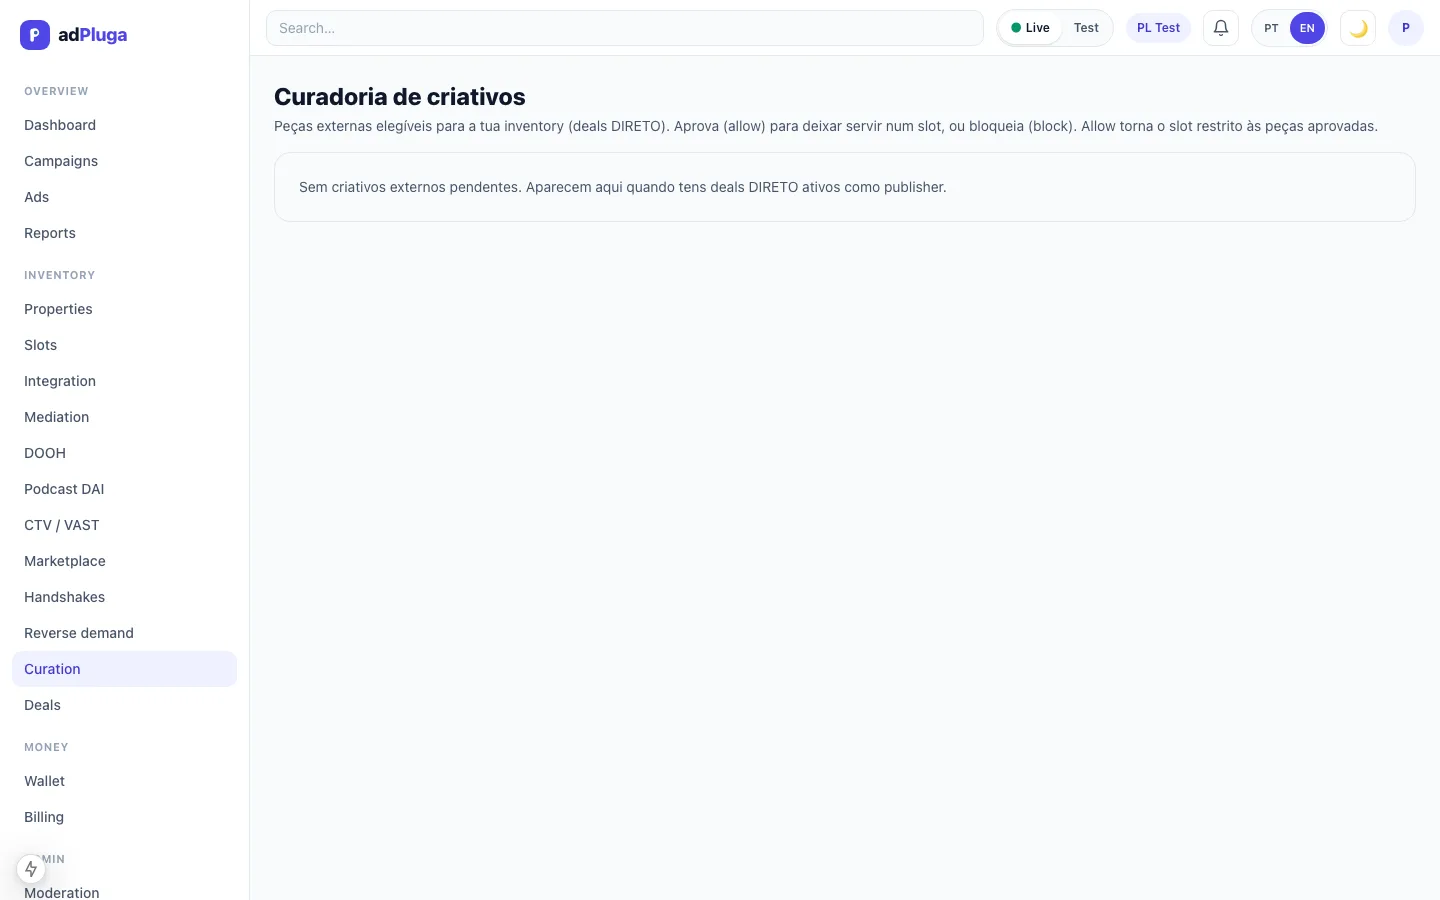
14. Creative curation
Before serving, you can review external creatives eligible for your inventory (DIRECT deals and POOL) one by one. In Curation you see the ad, the advertiser and the source deal, and approve (allow) or block per slot. Approving makes the slot restricted to approved creatives; blocking always prevents it. The control is enforced at /serve with no latency impact.